1/35 Tamiya King Tiger |
||
|
||
1/35 Tamiya King Tiger |
||
|
||
|
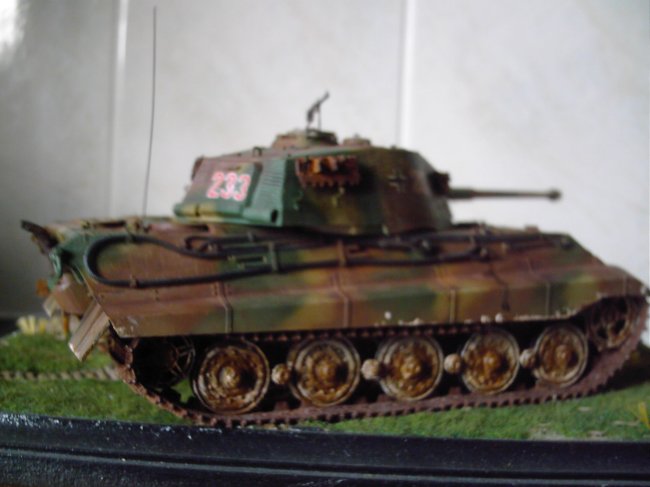
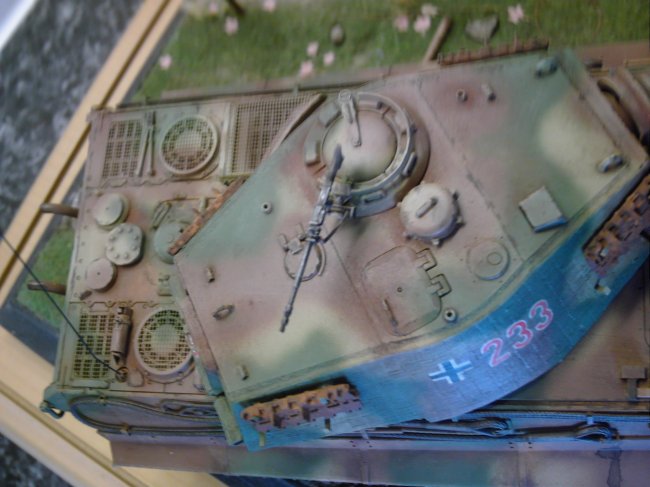
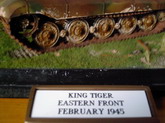
This is my 1/35 scale Tamiya King Tiger Tank , kit number 35164 - for the Eastern Front, February 1945.
Construction
Scratchbuilt details included the following:
I used the KingTiger II FruilModel all-metal tracks which you assemble using a special jig supplied, and assembled each track individually, link by link, linking with brass wire, until you have two sets of tracks, you can adjust them to have a realistic sag as well, plus you can scratch the paint showing some metal to come through and they just look great - easy to assemble if you take your time and use a good reference source to make sure you have them facing the right way! The Fruil spare track links were used, with holes drilled through the interlocking teeth. Several were pinned with brass wire for variety. The wire joining the six bolts at the end of the Saukopf gun mantlet is stretched sprue cut into six appropriate lengths and carefully glued into place. The crank handle guide ring hanging from the bottom of the right exhaust cover was fabricated from drilled plastic rod. The radio antenna is shaped brass wire. Gun cleaning rods are .035" Evergreen plastic rod. The King Tiger II kit Exhausts were replaced by using out-of-production Moskit Hollow metal Exhausts found on eBay. The Kingtiger, like other Panzers had the distinctive zimmerit coating applied in the factory. Zimmerit was designed to defeat magnetic antitank charges, and resulted in the tanks having a rippled texture on the covered surfaces. This rippling reduced the contact area for the magnetic mines to adhere to and when combined with the tank’s vibrations made it hard for the charges to adhere to the tank. On the Kingtiger the zimmerit had a pattern of closely spaced horizontal ridges. For modellers Zimmerit has proven vexing, as most of the previous approaches have their drawbacks ranging from cost (e.g. resin panels), time consuming (most approaches), difficult when applying to complex contours (P.E.) and the risk of making a mistake and ruining your kit (putty and applicator). The Zimmerit was applied using an out-of-production Aftermarket set which had them printed in very highly detailed plastic sheets onto sticky paper with strong glue fixing them to the tank -I can’t remember which manufacturer made them, but they have been a wise investment and were dead easy to apply, didn‘t have to cut them either ( don’t use photo-etch zimmerit, it never looks right - too perfect looking ! ) Cavalier make a good alternative if you want my advice.
Painting, Markings and Weathering Tamiya paints were used:
The wooden handles of the tools were painted XF-59 Desert Yellow. Mud was added using Faber-Castell Pastel Chalk (9286-179), powdered and mixed with Mineral Turpentine. The resulting slurry was painted onto the tracks and the wheels , I used “ green-line “ grass for the Diorama , and the angled Brass Name Plate ID Holder was made by AMTEC Industries , 1 West End Units, "Charles field", St. Boswells to my own design. David Walker
|
|
Photos and text © by David Walker